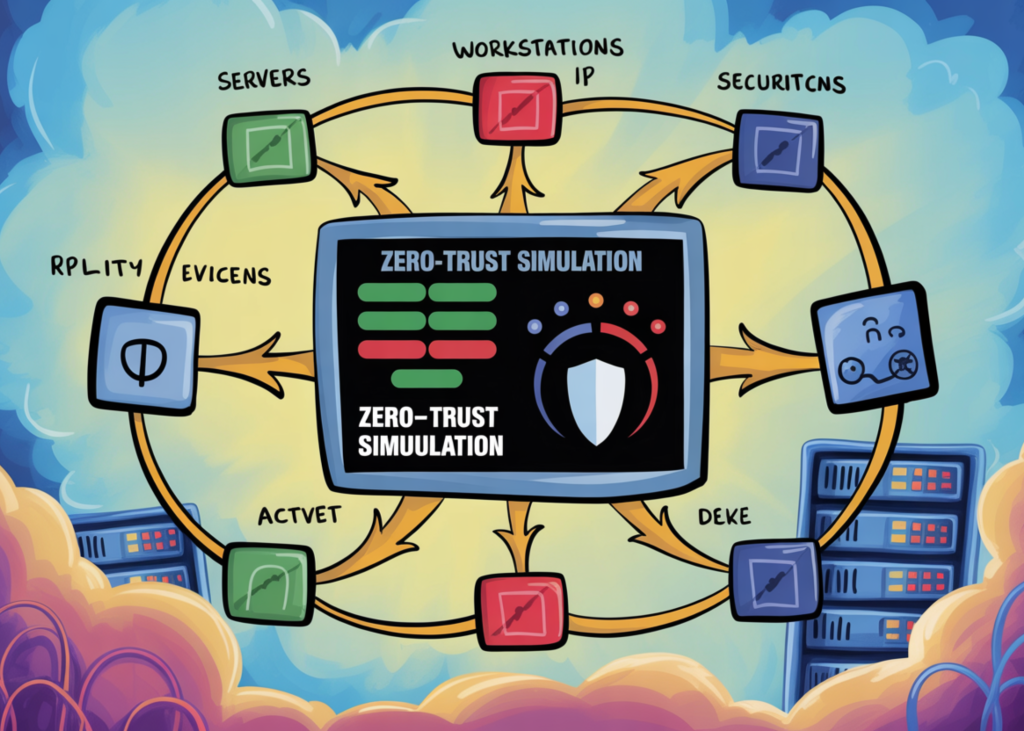
10 Essential Elements for Crafting a Zero-Trust Network Simulation with Adaptive Policies and Threat Detection
Imagine a network where no request is trusted by default—every access must be earned through continuous verification of identity, device health, and behavioral signals. This article breaks down the core components of building such a dynamic Zero-Trust network simulation. We'll explore how to model micro-segmented environments as directed graphs, implement adaptive policy engines that blend ABAC with real-time risk indicators, and detect insider threats using anomaly scores and data volume analysis. Throughout, we'll reference a practical implementation using NetworkX and Flask to simulate trusted and malicious flows. Each of the 10 steps below reveals a critical building block, from zone sensitivity to automated quarantines, giving you a blueprint to craft your own resilient security framework.
1. Model Your Network as a Directed Graph
The foundation of a Zero-Trust simulation is a micro-segmented environment represented as a directed graph. Nodes represent assets (e.g., servers, databases) grouped into zones like public, DMZ, app, data, and admin. Edges define allowed communication paths, but no path is implicitly trusted—every request must pass dynamic checks. By using a graph structure, you can calculate path reachability, enforce least-privilege routing, and quickly identify lateral movement opportunities that attackers might exploit. This topological abstraction simplifies complex network policies into analyzable relationships, making it easier to apply and test adaptive controls.
2. Define Zones with Sensitivity Levels
Segmentation relies on zones that carry different sensitivity scores—for example, public (0.15), DMZ (0.35), app (0.6), data (0.85), and admin (0.95). These scores act as baselines for calculating trust thresholds. A request moving from a low-sensitivity zone (public) to a high-sensitivity zone (admin) triggers stricter verification, such as mandatory MFA or elevated anomaly scrutiny. Assigning assets to appropriate zones ensures that critical resources are isolated from less secure ones, and each zone's sensitivity feeds directly into the policy engine's risk calculation.
3. Implement a Rich Request Context
Every access attempt must be evaluated using a rich RequestContext object that captures the user, role, device ID, device type, device posture (a health score), MFA status, source and destination nodes, action (e.g., read, write, exfiltrate), time bucket, geo-risk, behavior anomaly score, and data volume. This dataclass becomes the input to your policy engine. By incorporating multiple signals—like device posture and behavior anomaly—you simulate continuous verification beyond simple credentials. The richer the context, the more realistic and adaptive your trust scoring becomes.
4. Build a Dynamic Policy Engine Blending ABAC and Risk
Your policy engine should combine Attribute-Based Access Control (ABAC) with live risk signals. Instead of static rules, compute a trust score using a weighted function of factors: role permission, device posture, MFA verified, zone sensitivity delta, path reachability, anomaly score, and data volume deviation. Use a sigmoid normalization to produce a score between 0 and 1, and define a threshold (e.g., 0.7) under which access is denied or escalated. This adaptive approach allows policies to tighten automatically when anomaly scores spike or when data volumes indicate potential exfiltration.
5. Incorporate Insider Threat Indicators
Insider threats—like lateral movement or data exfiltration—can be simulated by generating requests with high behavior anomaly scores or abnormally large data volumes. For instance, an employee suddenly accessing a financial database outside normal hours with a high data-volume flag should trigger a low trust score. By adjusting the behavior_anomaly and data_volume fields in the request context, you can test how the policy engine reacts to malicious insider activity. Automated quarantines can then block or flag such requests in real time.
6. Use Utility Functions for Consistent Scoring
To ensure deterministic and fair trust calculations, implement helper functions such as _sigmoid for normalization, _clamp to keep scores within bounds, and _stable_hash for reproducible session identifiers. Weighted random selection (_rand_choice_weighted) aids in generating realistic traffic patterns. These utilities simplify the core logic and make your simulation easier to debug and extend. They also align with best practices for building maintainable security simulations.

7. Expose the Simulation via a Flask API
Operationalize the model by wrapping the policy engine and trust scoring in a Flask API. Endpoints can accept request context JSON, evaluate the request against the graph and policy, and return a decision (allow/deny/quarantine) along with the computed trust score. This API design allows you to simulate mixed traffic—both benign and malicious—by feeding different contexts programmatically. Moreover, it mirrors real-world zero-trust architectures where every request hits a policy enforcement point before being routed.
8. Generate Mixed Traffic with Malicious Flows
To validate the system, inject both normal user requests (e.g., customer reading a product page) and malicious flows such as lateral movement from app zone to data zone, or an exfiltration attempt from admin zone to public zone. Monitor the trust scores in real time—benign requests should score high (e.g., >0.8) while malicious ones drop below threshold. This testing confirms that adaptive controls (like requiring additional MFA or blocking altogether) trigger appropriately. It also highlights how graph-based reachability analysis can deny unauthorized paths even before policy evaluation.
9. Visualize the Graph and Policy Decisions
Using NetworkX and matplotlib, you can visualize the network graph with color-coded zones and highlight denied paths. Overlaying trust scores or blocked requests on the graph provides intuitive feedback on the effectiveness of your micro-segmentation. This step is crucial for debugging and for presenting the simulation to stakeholders. A well-designed visualization can quickly reveal misconfigurations, such as overly permissive edges between high and low sensitivity zones.
10. Automate Quarantine and Remediation Responses
The final piece is to automate actions when trust scores fall below a critical threshold. For example, if a request scores below 0.3 and has a high data volume, the system can immediately quarantine the source node by disabling its edges in the graph or by triggering an alert. This mimics real zero-trust responses like revoking device certificates or blocking IP ranges. Automated remediation reduces reaction time and is essential for containing insider threats before they cause damage.
By following these 10 steps, you can build a dynamic Zero-Trust network simulation that not only enforces strict access controls but also adapts to evolving risks. The combination of graph-based micro-segmentation, a context-rich policy engine, and real-time threat detection creates a realistic testbed for security research or production planning. Start with the graph model, layer in adaptive scoring, and iterate with mixed traffic to harden your defenses against both external and insider attacks.